Easy Homemade Dinner Rolls: Conquer Yeast for Fluffy Perfection
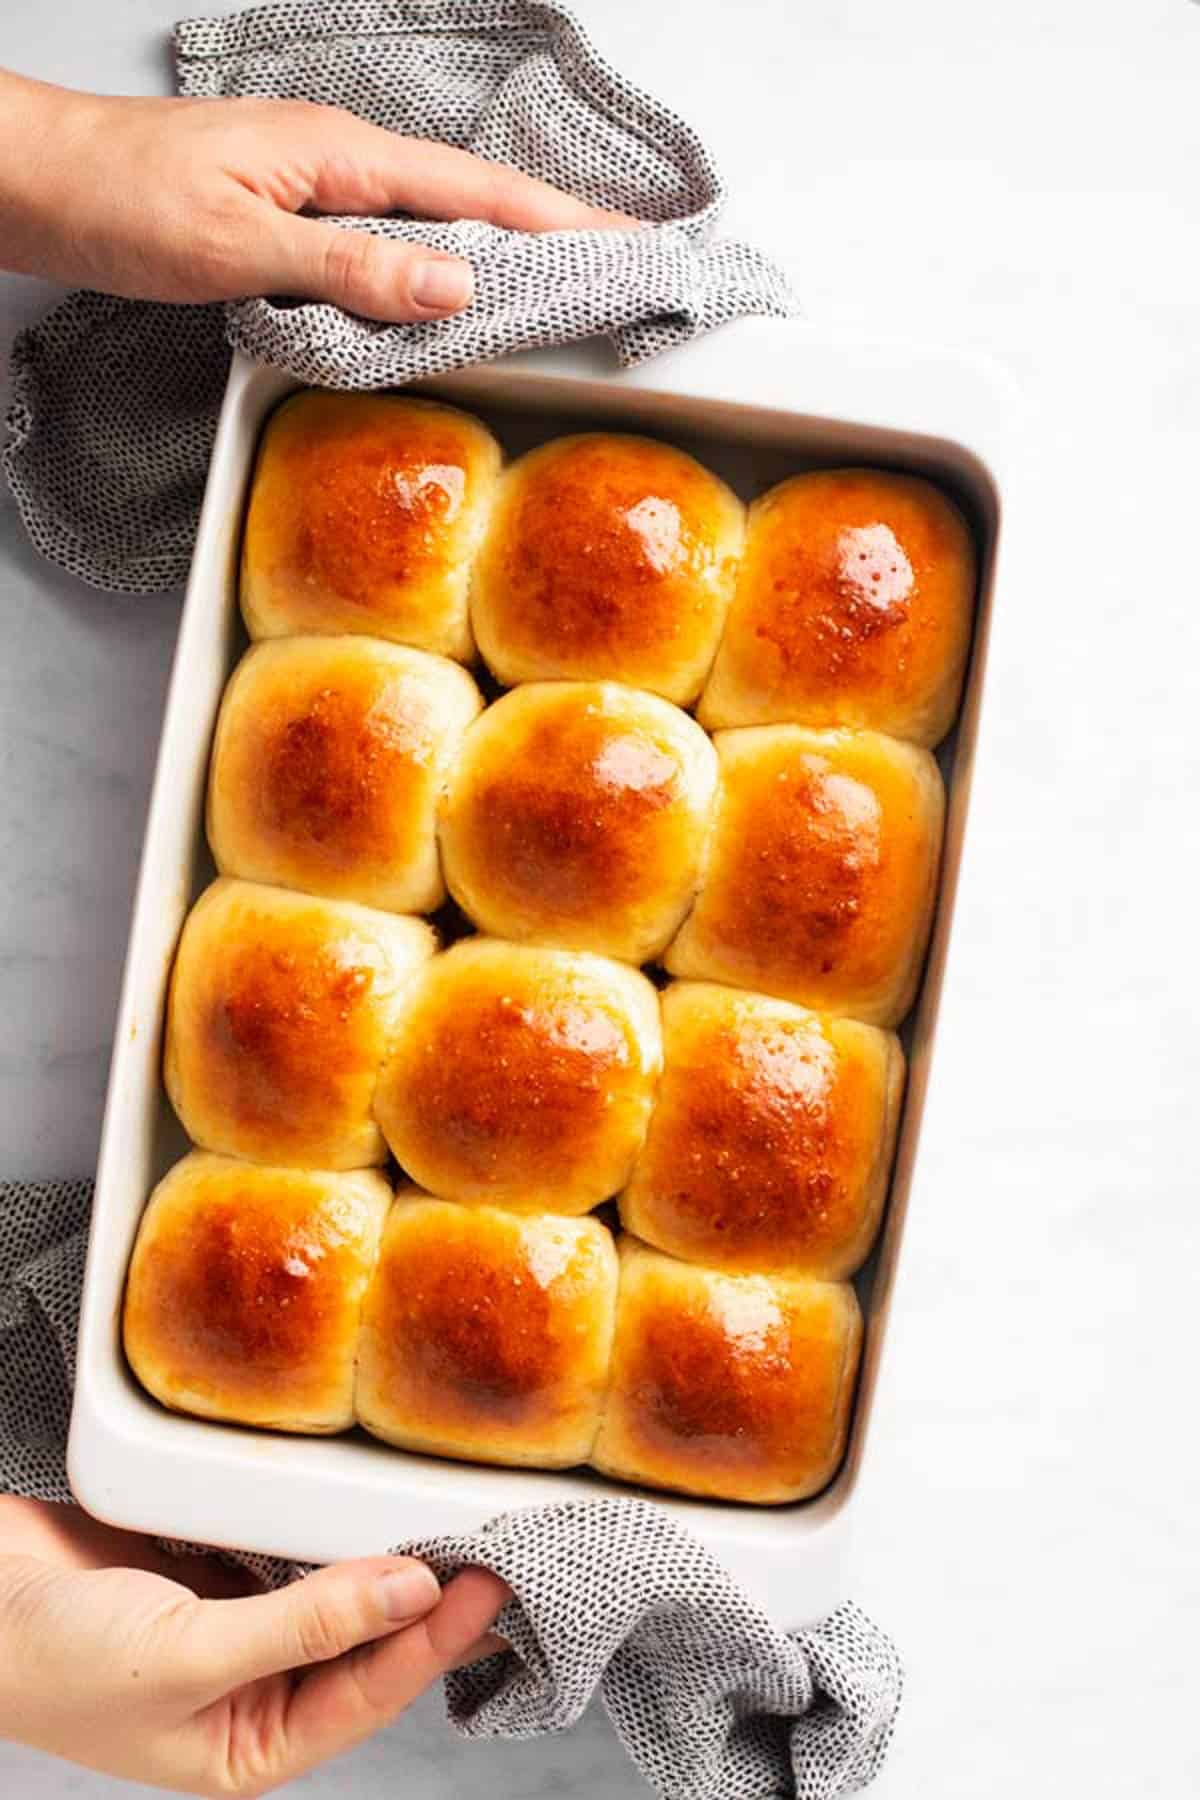
Imagine this: a warm, golden-brown roll, fresh from the oven, its delicate crust giving way to a cloud-like interior. A faint sheen of butter catches the light, and the aroma alone is enough to make your mouth water. This isn't a dream; it's the reality of truly perfect homemade dinner rolls, and yes, you can achieve it!
For many home bakers, the word "yeast" can conjure images of flat, dense failures or overly complex processes. But what if we told you that mastering light, airy, and utterly delicious dinner rolls is not just possible, but surprisingly straightforward? This comprehensive guide will equip you with the knowledge, tips, and confidence to bake bakery-style rolls right in your own kitchen, consistently delivering pillowy perfection that will impress every time.
Through extensive testing with various flours and techniques, we've distilled the art of roll-making down to its essential, foolproof steps. Forget the fuss; this method balances speed, incredible flavor, and impeccable structure, proving that even those with a "fear of yeast" can become a master baker of these irresistible treats. From Sunday roast dinners to comforting weeknight soups, these homemade dinner rolls are the perfect companion.
Why These Dinner Rolls Are Your New Go-To Recipe
What makes a seemingly simple bread roll truly outstanding? It comes down to a few critical, yet often overlooked, principles that ensure a consistent, tender crumb and that desired melt-in-your-mouth experience. This recipe isn't just about mixing ingredients; it's about understanding the synergy between them.
- Gentle Mixing and a Focused First Rise: Unlike some breads that benefit from long, arduous kneading and bulk fermentation, these rolls thrive on gentle handling and a shorter initial rise. This technique concentrates the yeast activity just enough to develop a beautiful, tight, and tender crumb without creating large, irregular holes. The result is a uniformly soft texture that's ideal for tearing and savoring.
- The Magic of Butter (and a Little Fat): A crucial element in achieving that signature softness and extending shelf life is the strategic inclusion of fat. A modest amount of butter not only imparts a rich, irresistible flavor but also slows down the staling process, ensuring your rolls remain fresh and tender for longer. While neutral oil can be substituted, butter delivers a superior depth of flavor and texture that's hard to beat.
- Warm Milk and Strategic Rest Periods: The temperature of your liquid matters immensely. Warm milk (within a specific range) awakens the yeast and hydrates the flour perfectly. Furthermore, brief resting periods throughout the process allow the gluten to relax. This makes the dough incredibly pliable and easy to handle, preventing overworking and ensuring a smooth, soft finished product.
- The Golden Touch: A Flawless Crust: That thin, slightly crisp, golden crust is not just for show. A simple egg or milk wash applied before baking creates this beautiful exterior while keeping the interior exquisitely soft and tender. It adds a subtle richness and visual appeal that screams "bakery-fresh."
- Forgiving with Flour: Whether you reach for all-purpose or bread flour, this method is remarkably forgiving. Bread flour tends to yield slightly taller, chewier rolls due to its higher protein content, while all-purpose flour results in an exceptionally soft and delicate crumb. Feel free to experiment based on your preference or what you have on hand, knowing either will produce fantastic results. For a deeper dive into flour types and their impact on your bake, you might also be interested in our guide: Unlock the Secret to Perfect Pillow-Soft Dinner Rolls Every Time.
Essential Ingredients for Perfect Dinner Rolls
While the process is important, the foundation of any great bake lies in its ingredients. Understanding the role each one plays is key to consistent success. Precision in measurement, especially for bread, is highly recommended – a kitchen scale will be your best friend!
- Flour: The Structural Backbone
- All-purpose flour: Delivers a wonderfully soft and delicate crumb, which is often preferred for classic dinner rolls.
- Bread flour: With its higher protein content, bread flour will give you slightly taller rolls with a chewier texture. Both work beautifully, so choose based on your desired outcome.
- Tip: For a touch of whole grain goodness, you can substitute up to 25% of the white flour with whole-wheat flour, but be prepared to add an extra tablespoon or two of liquid as whole-wheat absorbs more moisture.
- Yeast: The Life of the Dough
- Instant yeast: Our preference for its reliability and speed. It can be mixed directly into the dry ingredients.
- Active dry yeast: If using active dry, you'll need to "proof" it first. Dissolve it in the warm milk with a pinch of sugar for 5-10 minutes until foamy, then proceed. You might need to use about 25% more active dry yeast than instant.
- Granulated Sugar: Food and Color
- Beyond feeding the yeast to help the dough rise, sugar contributes to the beautiful golden-brown crust and a subtle sweetness that balances the savory flavors.
- Salt: Flavor and Control
- Salt is vital for enhancing flavor and, importantly, regulating yeast activity. Without it, your dough might rise too quickly and taste bland.
- Important: The type of salt matters! Fine table salt is denser than flaky kosher salt. If using a different brand or type than specified in a recipe, adjust accordingly (e.g., use less Morton kosher salt than Diamond Crystal kosher salt by volume). Always err on the side of slightly less and taste if unsure.
- Unsalted Butter: Richness and Tenderness
- Softened butter incorporated into the dough adds incredible richness, a lovely buttery flavor, and contributes significantly to the tender crumb.
- Melted butter is also used for brushing after baking, adding shine, flavor, and extra softness. High-quality butter truly makes a difference here.
- Whole Milk: Hydration and Activation
- Warmed whole milk is crucial for activating the yeast and properly hydrating the flour.
- Temperature is key: Aim for 38-43°C (100-110°F). Too cold, and the yeast won't activate; too hot (above 49°C/120°F), and you risk killing it. Whole milk also contributes extra fat, enhancing the roll's richness and tenderness.
- Large Egg: Structure and Color
- An egg adds richness, helps with the dough's structure, and contributes to the golden hue of the final baked goods. For an egg-free alternative, you can omit it and potentially increase the milk slightly, though the texture and color will be subtly different.
- Optional Finishers: Melted butter, flaky sea salt (for a delightful crunch), or even a sprinkle of sesame seeds can elevate your dinner rolls further. For more tips on achieving that signature bakery-style finish, explore our article: Bakery-Style Soft Dinner Rolls: Achieve Fluffy, Tender Crumbs Easily.
Mastering the Method: Step-by-Step for Fluffy Perfection
The beauty of this recipe lies in its clarity and sensory cues, guiding you through each stage with confidence. While a stand mixer with a dough hook is a fantastic tool for ease, hand-kneading is absolutely achievable and equally rewarding.
- Accurate Measuring is Paramount: For baking, especially with yeast, a kitchen scale is highly recommended for measuring flour and other dry ingredients. It eliminates inconsistencies caused by varying packing methods, ensuring your dough has the perfect hydration every time.
- Combine Dry Ingredients: In a large mixing bowl (or stand mixer bowl), whisk together your chosen flour, instant yeast, granulated sugar, and salt. Make sure they are evenly distributed.
- Add Wet Ingredients: Gradually add the warmed milk, softened butter, and egg to the dry mixture. If using a stand mixer, start on low speed with the dough hook until the ingredients just come together.
- Gentle Kneading for a Tender Crumb:
- Stand Mixer: Increase speed to medium-low and knead for about 5-7 minutes. The dough should be smooth, elastic, and pull away from the sides of the bowl. It will be soft and slightly tacky, but not sticky. Avoid over-kneading, which can make rolls tough.
- Hand Kneading: Turn the shaggy dough out onto a lightly floured surface. Knead gently for 8-12 minutes. Use a push-fold-turn motion, allowing the dough to stretch. You're looking for a smooth, cohesive ball that springs back when gently poked.
- The Windowpane Test: A good indicator of sufficient kneading is the windowpane test. Pinch off a small piece of dough and gently stretch it. If you can stretch it thin enough to see light through it without tearing, your gluten is well-developed.
- First Rise: The Short but Sweet Fermentation: Lightly grease the mixing bowl, place the dough in it, turning once to coat, then cover with plastic wrap or a damp towel. Let it rise in a warm, draft-free place for a relatively short period, typically 45-60 minutes, or until just puffy and slightly increased in size. This short rise is key to the fine, tender crumb.
- Shape Your Rolls: Gently punch down the dough to release the air. Turn it out onto a lightly floured surface. Divide the dough into equal portions (using a scale here ensures uniform rolls). Shape each piece into a smooth, tight ball. This can be done by tucking the edges under to create surface tension, or by rolling the dough between your palm and the counter.
- Second Rise: The Final Proof: Arrange the shaped rolls in a greased baking dish, leaving a little space between them. Cover loosely and let them rise again in a warm place for another short period, about 25-35 minutes, or until visibly puffy and almost doubled in size. This crucial second rise ensures lightness and a beautiful final texture.
- Bake to Golden Perfection: Preheat your oven to the recommended temperature. Just before baking, gently brush the tops of the rolls with an egg wash (one beaten egg with a tablespoon of water) or a milk wash. This creates that desirable golden crust. Bake for the specified time, usually 15-20 minutes, until deeply golden brown and cooked through.
- Cool and Serve: Once out of the oven, brush the hot rolls with a little extra melted butter for an even richer flavor and shine. Let them cool slightly on a wire rack before serving warm. This prevents the bottoms from getting soggy and allows the internal structure to set.
Tips for Success & Customization
Even with the best recipe, a few extra insights can make your baking journey smoother and more enjoyable. Don't be afraid to make these dinner rolls truly your own!
- Troubleshooting Common Issues:
- Dough not rising? Check your yeast's expiry date, ensure your milk temperature wasn't too hot (killing the yeast) or too cold (inhibiting it). A warm, draft-free environment is essential.
- Dense rolls? This often points to over-kneading or insufficient rise time. Make sure your dough is soft and pliable, and allow it to complete both rises fully.
- Make-Ahead Options:
- Overnight Cold Proof: After shaping the rolls, place them in the greased baking dish, cover tightly with plastic wrap, and refrigerate overnight (up to 12-18 hours). The next day, remove them from the fridge about 1.5-2 hours before baking to allow them to come to room temperature and complete their final rise.
- Freeze Baked Rolls: Once cooled, these rolls freeze beautifully. Wrap them tightly in foil, then place in a freezer-safe bag for up to 2-3 months. Reheat directly from frozen in foil at 150°C (300°F) for 15-20 minutes, or until warmed through.
- Flavor Variations & Toppings:
- Garlic Herb Rolls: Mix finely minced garlic and fresh herbs (rosemary, thyme, parsley) into the melted butter before brushing.
- Cheddar and Jalapeño: Fold in shredded cheddar cheese and finely diced pickled jalapeños during the last minute of kneading.
- Sweet Treat: Before the second rise, brush rolls with melted butter, sprinkle with cinnamon sugar, and dot with a few cream cheese frosting bits for a dessert-like roll.
- Savory Toppings: Experiment with sesame seeds, poppy seeds, everything bagel seasoning, or flaky sea salt on top before baking.
- Pairing Suggestions: These versatile dinner rolls are perfect with everything from hearty beef roasts and rich stews to lighter weeknight soups and salads. They also make fantastic sliders for casual gatherings or can be split for breakfast sandwiches.
The Ultimate Comfort Food Awaits
Conquering yeast doesn't have to be intimidating. With this proven recipe and a few key techniques, you'll be baking soft, fluffy, and irresistibly delicious homemade dinner rolls with confidence. The reward of pulling a batch of warm, golden rolls from your own oven is unparalleled – a true testament to the simple joys of home baking. So, gather your ingredients, take a deep breath, and get ready to impress yourself and your loved ones with the ultimate comfort food. Happy baking!
